Applying Self-Tanning Mousse: The Pro-Guide to a Flawless Tan
Applying self tanner or self tanning drops may feel a bit overwhelming + scary, but it doesn’t have to be! You don’t want it to look blotchy, unnatural, or streaky – and thankfully, it doesn’t have to with our guide to a flawless at-home tan.
FINDING THE PERFECT SELF-TANNING PRODUCT:
Let’s start with the types of self-tanners out there + how to determine which is best for your needs to achieve a beautiful, natural-looking glow.
From quick-drying mousses to hydrating mists and even face-friendly serums, the world of self-tanners has really expanded in recent years. And the best part is, there’s a formula out there for everyone’s needs and preferences.
Let’s dive into the different types of self-tanner and find the perfect one for you.
Self-Tanning Mousses: These quick-drying, streak-free wonders can give you an even, buildable tan in just a couple of hours. They come in a range of color bases to achieve the most natural result. This option is applied with a self-tan mitt.
Gradual Self-Tan Lotions: These are a great everyday option, especially if you’re looking to gradually enhance the color on specific areas, for example your legs. Just be mindful of even application to avoid any pesky streaks + over saturation. And wash your hands immediately too avoid the dreaded “orange” hands.
Self-Tanning Mists: This option is a game changer! Most tanning mists are formulated with anti-aging ingredients that marry skin care + a glow in ONE. They will give your face, neck + décolletage a beautiful natural glow in just a few hours. They dry down quickly and provide a flawless, even application every time.
Self-Tanning Serums/Drops: These lightweight formulas are perfect for the face + body, just by adding a few drops into your face or body moisturizer. This option is great to extend an existing spray tan or to give your skin a light glow from head to toe. A serum seamlessly integrates with your daily skincare routine + is easy to travel with.
The possibilities are endless, my friends.
SELF-TANNER: OUR PRO TIPS
Now that you’ve chosen the right self-tanner product for you, we are going to dive into a few simple tips, you’ll be bronzing like a pro in no time.
The secret is all in the prep work – exfoliating, moisturizing, and using the right tools can make a huge difference in getting an even, streak-free application. And the aftercare is just as important to keep that gorgeous glow lasting.
PREPPING YOUR SKIN:
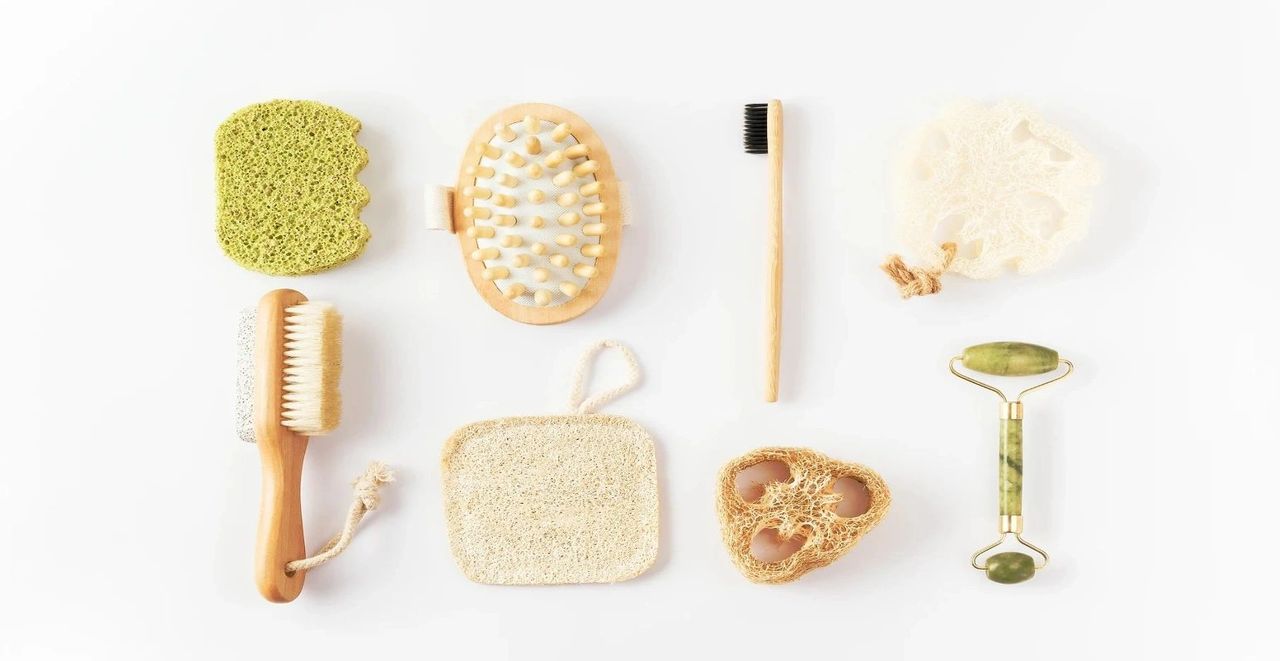
Exfoliating: You can exfoliate in several ways, including using an exfoliating mitt or a dry brush. Our recommended method is dry brushing since it has many other benefits besides getting your skin ready for a self-tanner. Make sure to focus on areas like elbows, knees, and neck. Move the mitt or brush in a circular motion to clean the skin thoroughly, revealing a smooth, even canvas for your glow-up. PRO TIP: Don’t forget to pay extra attention to your feet and hands as well – these tend to be drier and can often look patchy if not properly exfoliated.
Moisturizing + Shaving: As with your spray tan preparation, remember to shower, moisturize, and shave at least 4 hours before applying your self-tanner. This helps create an even, smooth canvas for the tanning solution to develop beautifully. PRO TIP: be mindful of using moisturizers that have oils, parabens, sulfates, mineral oil. These ingredients will create a barrier + your tan will develop streaky + dull. Recommended products.
APPLY YOUR SELF-TANNER
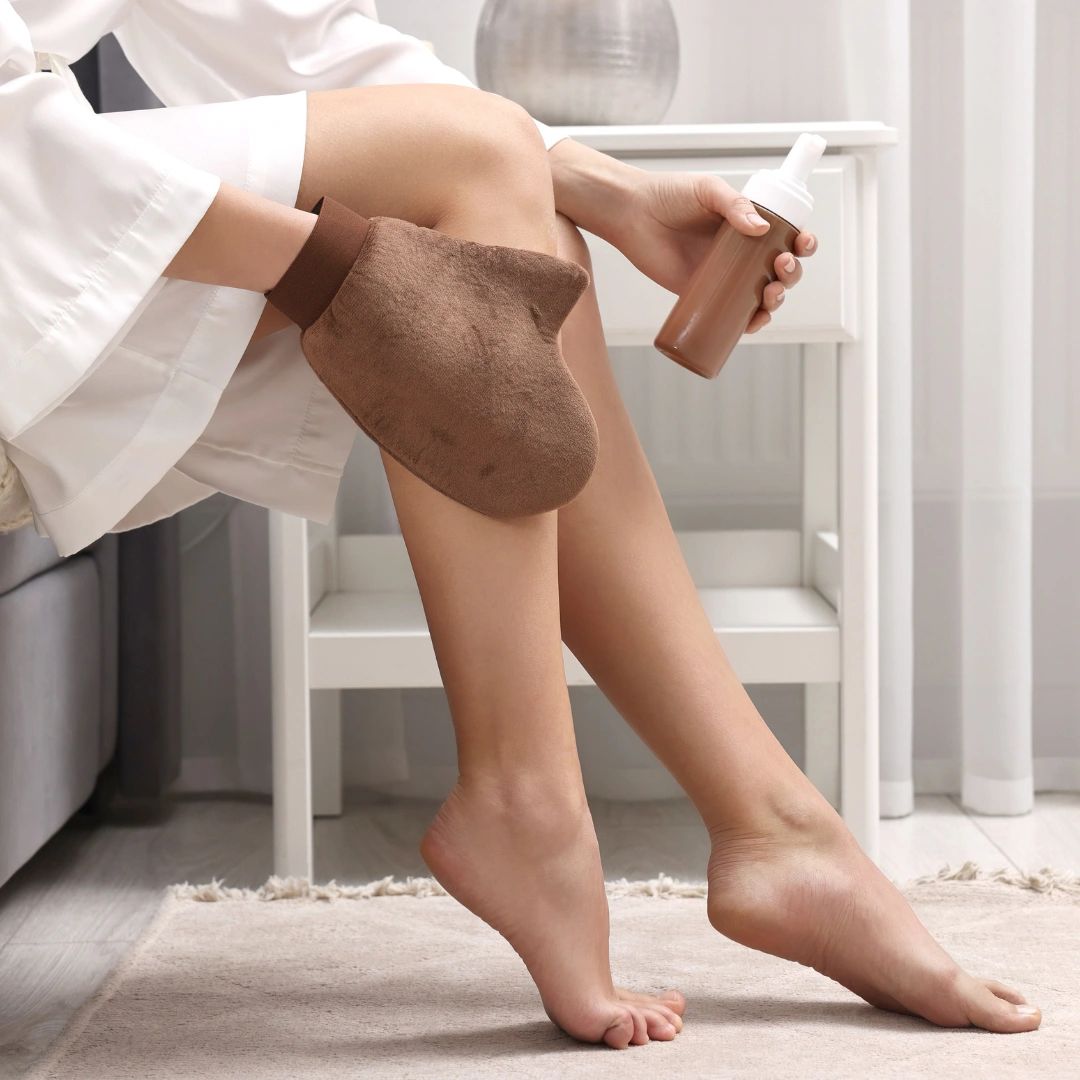
Now for the fun part – time to start applying! Depending on the formula, you’ll want to use a mitt, brush, or just your hands (tanning lotions). The key is to apply it evenly for a seamless, natural-looking tan.
Cleanse and Moisturize: Begin with clean, dry skin. Apply a light, even layer of moisturizer to elbows, knees, and other dry areas to prevent patchiness.
Apply in Sections: Work in sections, starting with your legs and working your way up. Use long, sweeping strokes and be sure to blend well at the edges.
Hands, Feet + Face: Pay extra attention to your hands, feet, and face, blending thoroughly to avoid harsh lines using a kabuki brush. We recommend to tan your hands and feet LAST using what is left over on your mitt.
Let it Set: One of the top self-tanner tips we swear by is to take the time to let that magical formula dry and set. Depending on the product, this process can take anywhere from a few minutes to a few hours. Some solutions dry in a flash, while others require a bit more time to work their magic. Allow the self-tanner to fully develop for 4-8 hours before rinsing. This will ensure a natural, golden glow. The key is to avoid rushing the process and resist the urge to put on your clothes or shoes right away. Give it at least 15 minutes before getting dressed to prevent any unwanted staining or streaking. And when you do finally get dressed, steer clear of anything too tight or restrictive – you want to let that tan develop and set without any interference.
Avoid: Moisture at All Costs: After you’ve expertly applied your self-tanner, resist the urge to jump in the shower, hit the pool, or even work up a sweat. Moisture can cause your freshly-applied tan to streak, blotch, or fade prematurely. Instead, let your self-tanner work its magic for at least a few hours before introducing any H2O.
CONCLUSION
The self-tanning secrets we’ve unveiled are truly awe-inspiring! With these tips and tricks, achieving a luminous, natural-looking glow has never been easier. Here at TANCIETY we are in awe of the transformative power of self-tanning and are dedicated to providing you with the finest professional-grade self-tanning products, self-tanning tools + luxurious skincare.
Be sure to explore our blog for more pro tips + techniques. When you’re ready to experience the most amazing tan of your life, don’t hesitate – book your next session with TANCIETY today! self tanner self tanner